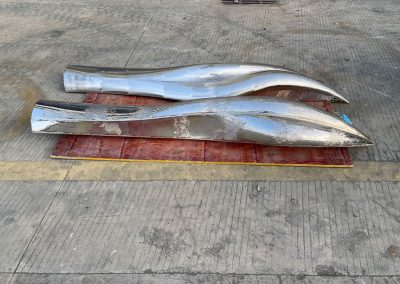
To attach the branches to the ball, Kevin threaded the ends of the 1/2″ steel rods.
He shows two tap and die sets. One is for metric nuts and bolts, the other is SAE, or an American set for everything else. Taps help you cut threads into metal so you can screw something into it, while dies help you cut threads into rods that screw in.
Kevin shows a die and a tap, then explains what is in the set. He points out different sized taps and different sized dies. He also shows different sized holders for holding the taps. The one for the bigger taps has two handles for more leverage.
Next he shows a die holder. He puts in a die, which is what puts threads on a rod, and tightens it into place. He shows which end the rod goes through and the motion it will take to thread a rod.
Then Kevin shows a pitch gauge. It helps determine how many threads per inch, or what pitch, you have. For example, for the sculpture branches, Kevin used a 1/4-20. That’s for 1/4″ round stock and 20 threads per inch.
He points out that each die has a front side and a back side. The back side is square with a flat surface on top and the threads going straight down inside. On the front side, the threading is tapered into the die. This is the side you start with when threading a rod.
To use a die, you put the tapered side in first, or down, in the die holder, and secure it using a small screwdriver. Barely snug it up. Clamp whatever you are trying to thread straight up in a vise. The die tool holder has an attachment that helps you guide the tool as it cuts to make sure your threading is straight.
Begin turning the die clockwise with the die holder handles perpendicular to the the rod. It takes 39 seconds for Kevin to thread the 1/4″ steel rod.
Once he has the thread the depth he wants it, Kevin turns the die holder counter-clockwise to remove the tool. He shows the thread and a metal shaving made when creating the threads.
Next Kevin turns to taps, which he says are nothing more than dies turned inside out: the cutting threads are on the outside.They’re for putting threads into metal so you can screw something into it. To screw something into a metal plate, you drill a hole, slightly undersized (look for the drill size written on the tap itself).
Kevin is ready to go back to work, so he hopes you take a moment to click on the “Notification Bell” at the top of YouTube’s screen to see his newest free how to videos. Well, you might stay around for another moment to see him make his first foray into rap (or is that tap) ….

