My interest in 3D printing grew from my art practice.
 I was already using CAD – the precursor to making original 3D printed creations – to design many of my metal sculptures, so transitioning into 3D printing was a natural. I was seduced by the opportunity to see designs I could never execute in metal come alive in filament, and so the journey began 8 years ago.
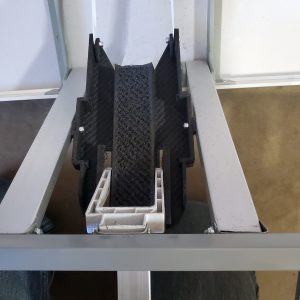
If you’ve been reading this blog for a while, you know a lot about the sculptures I’ve been 3D printing in various materials. But I’ve also discovered lots of other ways to use 3D printing. I’ve made all sorts of things, including Farkle game boards and a variety of dice to go with them, candleholder trays, glass container tops, a new fan part for my 8-foot-tall Cerberus 3D Gigante 3D printer, knobs for my metal shop slip roll, rollers for my office window, a catbox litter scoop, and even a part for a folding picnic table (above, right).
(BTW, the part for the folding table went through a half dozen design and printing revisions. The version at right is carbon fiber, but it turned out to not be the best material. For the most recent version, I went back to PLA and it’s doing a passable job.)
None of those items, obviously, are sculptures, but 3D printing has allowed me to replace things that otherwise might just have to be thrown away.
One of my latest crazy projects has been creating a “lift kit” for my wfe’s breakfast bar chair. She’s under 5 feet tall, and her feet often don’t touch the floor when she is sitting down.
Enter 3D printing.
I designed and 3D printed a footrest riser (lower left) so she has something to put her tiny little feet on. In the first version, I used some gray PLA filament I don’t have much use for.
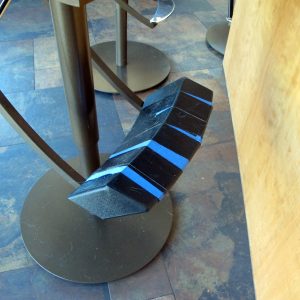 That first version didn’t have enough slope, so I printed another riser in some blue filament I wanted to use up. It juts out a little more to accommodate where her feet actually end up. I have the riser taped to her chair’s footrest and it seems to be working ….
Once we are happy with the design, I’ll have to come up with some way to adhere it – without the duct tape!
And who knows what I’ll come up with next. The more ways I see to use 3D printing, the more practice I get with CAD ….