Sometimes I just get an idea in my head, and I have to follow it through. Fortunately, 3D printing makes that easy. (Well, easier.)
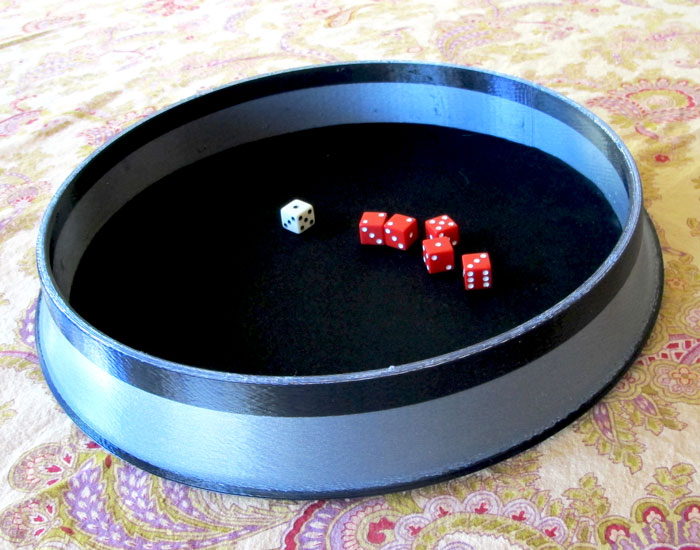
In this case, it’s that Farkle board that I have come up with yet another design for. The one at the right was my first attempt, which came out pretty well. The black field you see, though, is cloth I added later. That means having to cut it exactly right to fit and gluing it in without dripping glue on the PLA board itself.
Being around or using something always helps me understand it better, or see a better way to design or use it. (That’s why I like to bring home my sculptures – living with them helps give me a new perspective and, I hope, appreciation for them.)
My buddy from the service and his wife were in town recently, so we had a rousing couple of games of the dice game Farkle, whereupon a new design popped into my mind ….
I’ve written about Farkle boards before, how I made a round one – much easier with 3D printing than with other fabrication processes! – then decided to print one in rubber. The rubber one has been a big hit among Farkle players. It’s extremely quiet and provides good action.
 The downside: You can’t see the dice unless you look down into the board. The board sides slope in slightly to try to keep the dice inside, so you really have to lean over or be above it to see what you got from your throw.
That led me to my newest design.
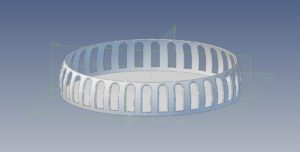
I sat down with Geomagic, one of the CAD programs I use, and designed a Farkle board with slits on its sides. The dice are 5/8″ wide on each side, so I made the slits 1/2″ wide. I also domed the tops so that the printer should have an easier time of bridging the gap across them.
Next, it’s time to test the design. Before I run any more rubber filament, though, I plan to use some ugly color of regular PLA out of the filament closet. I’ll probably just print an inch or two up so I can see if the slots are the right width.
Then it’ll be time to print it in rubber.
And then I just need to work on my Farkle game!

