While I do create sculptures using 3D printing, I also use it for protyping. It’s really important when I’m creating a sculpture in CAD and then actually building it in metal to be able to see all aspects of the form.
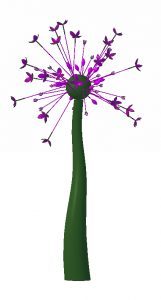
A great example is a sculpture I’m just beginning, Schubertii. Based on the plant by the same name, this sculpture will be 12 feet tall. Seven feet of that will be the sculpture’s “stem.”
The stem is fairly simply to look at, but creating it in metal is going to be, well, challenging. Its round edges and flowing form will require me to use a combination of tools – air shaper, English wheel, maybe even the slapper (yeah, there really is a tool called a slapper) – to get the rounded form that is the opposite of how metal comes, in flat sheets.
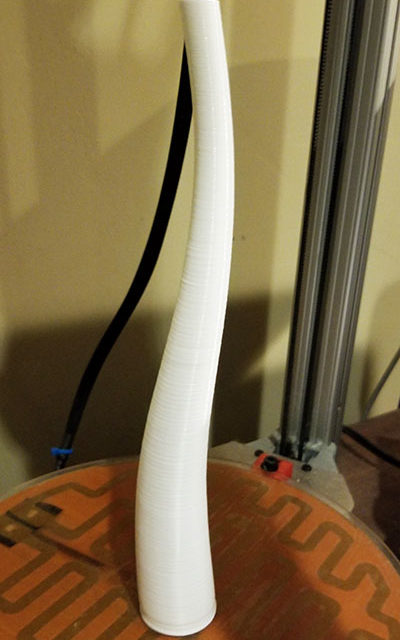
To get the form right, I printed the stem maquette, or model, on my Cerberus 3D 250 desktop 3D printer ….
I took it down to my metal-working studio and set it on the workbench, where I can look at it from all angles, pick it up and actually feel the curves.
I’ve also started playing with some 1/8″ aluminum, which is what I’ll use to create the stem (the upper section is an explosion of tiny kinetic flowers – this sculpture will be a beauty! Check out the rendering to the right.).
By using a combination of tools, I’ll shape the rounded form of the stem, welding together sections and then grinding the joints so that everything looks like a single piece.
(In case you are wondering, there will be three sets of flowers: one still in bud form; one partially open; and one fully open. The second two sets’ flowers will spin in the wind in the New York sculpture and horticultural garden where it is headed.)
This process will take some time, but having a model, or maquette, that I can look at, hold, rotate and feel will make a huge difference. Thank you, 3D printing!


