For instance, I’d never thought about how to make a flat surface using 3D printing. After all, I do it all the time with metal – I make a very similar form to what you’ll see below to use as the strikers in most of my sound sculptures.
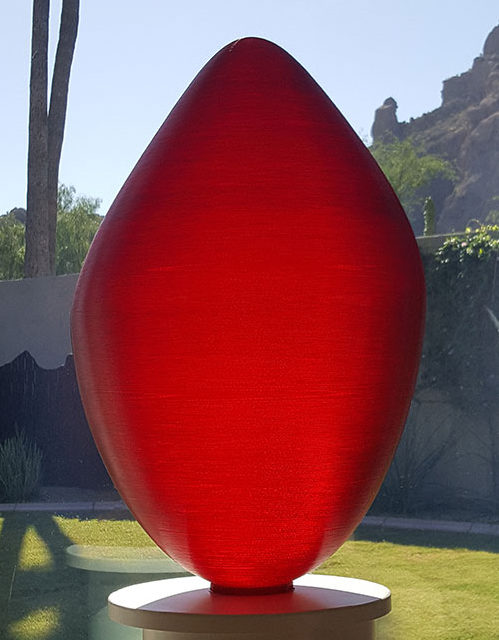
Besides, when I 3D print sculptures (or anything else), I have large expanses of filament. As you can see at right in my latest 3D print, Opioid, I have large expanses of solid filament “fabric,” but they aren’t horizontal. The printer does a fine job of creating these 3D printed “skins,” even in large sections.
But what if you want to create a flat surface? How does the 3D printer go from, say, printing the edges of something to filling in the area between the edges, especially if it is a pretty large expanse?
Well, that is a different story altogether ….
 If you read my last blog post about the spectacular fail of the first version of Opioid, you know that I ended up with, well, half an Opioid shape. I considered a lot of different ways to use what was left – it was two-and-a-half days of printing and about $200 in filament, so I hated to just toss it as I have done with other failed prints. Besides, it was beautiful.
I put the question of how to use it out to my Facebook friends, who came up with some great ideas: an umbrella (although it really isn’t waterproof it would look cool!) … a planter … a lampshade … a flower (by adding a stem, pistils, etc.).
As you may have read, I decided to make an end table out of it. That meant I not only needed to put a top on it, I also wanted to add a base to give it a little more stability, especially if I was going to add more weight on the top.
 In Geomagic, I designed a disk, not unlike a large hockey puck. Easy, peasy.
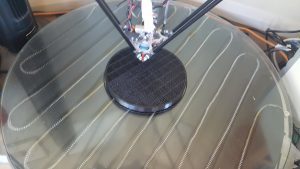
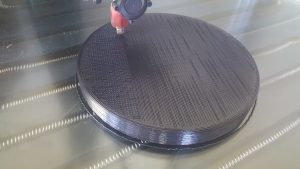
When I started printing it on my 8-foot-tall Gigante 3D printer, the edge printed easily, but then the fun began: printing the top of the disk. I’d done this before, so I knew what to expect, but I thought you might enjoy knowing about it, too.
I don’t know whether the software engineers thought about how a spider makes a web, but that’s what it reminds me of. The 3D printer simply creates a rough grid, then goes back and forth from different angles to progressively fill in the spaces, with the area between where the filament is laid down getting narrower and narrower each time ….
 Before long, the section is solid.
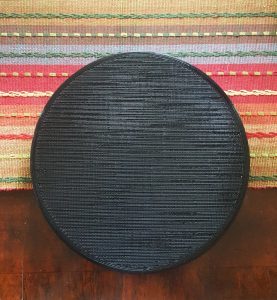
Or close. This base didn’t get completely solid, but because it’s going to be underneath the 3D printed section on the floor where you’d have to really, really want to see it and then could really only see the edges, I’m not worried about it.
The base is definitely strong enough do its job to give the end table a little more of a footprint to keep the table stable.
It was a little surprising how long it took to print. I didn’t count, but I’d bet it was about a dozen full passes over an hour and a half.
Could have I have made the same thing in metal and just painted it or had it powder coated? Sure.
But really, would that have been as cool?

