
I suspect he thinks, as many people do, that 3D printing is as simple as pushing a button. Well, in this Model T period of 3D printing, it’s anything but.
In fact, the 3D print that just finished printing yesterday actually required me to manipulate the print with my hands while the printer was running ….
I couldn’t wait to print something in the outrageous translucent yellow filament I’d bought, and this was the perfect project. After a couple of failed starts (the bowden tube decided to pull the filament off track until I figured out what the problem was and wedged it upright), things went along just fine on this five-tower sculpture, Sunscraper.
That was until I realized that the sliced file had omitted walls between each of the towers before they separated from the joined base and built to their peaks. That matters because, when the towers did separate, the diverging walls needed something to sit on.
Whoops!
 I don’t know why this happened, BTW. It’s never happened before. The only variable I can put my finger on is that I created this sculpture in Rhino, whereas I designed others that needed this kind of support in GeoMagic. Go figure.
At first I thought I was going to have to scrap the print and go back, literally, to the drawing board.
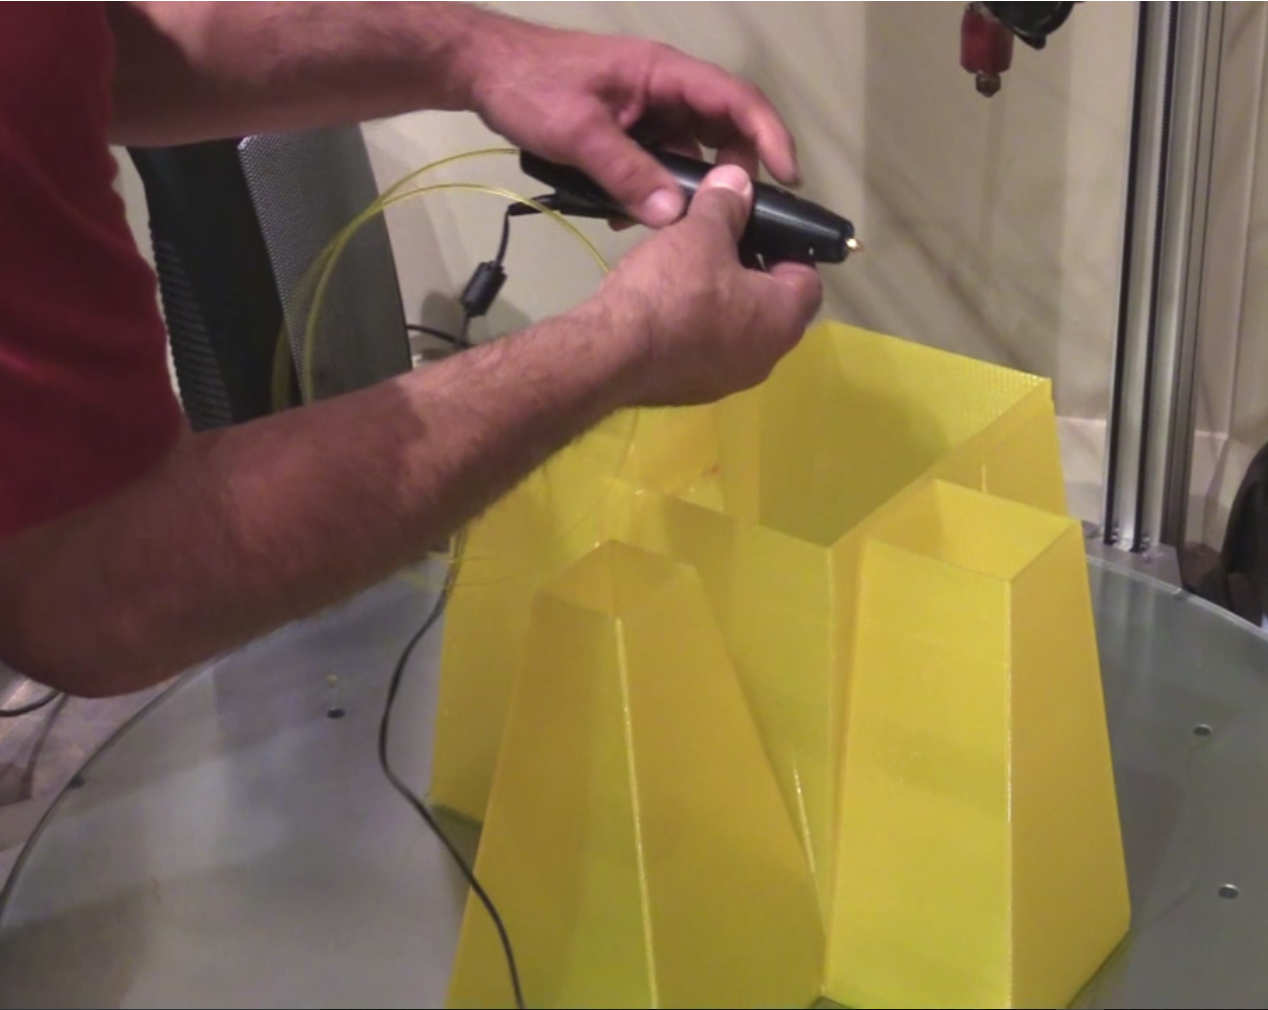
Then I had a brainstorm. I got out my 3Doodler (right), which I mostly use for repairs, and put some of that 3 mm yellow translucent filament in it. Then I determined which layer the first “bridge” needed to print on by scrolling through the preview in Repetier, my host program.
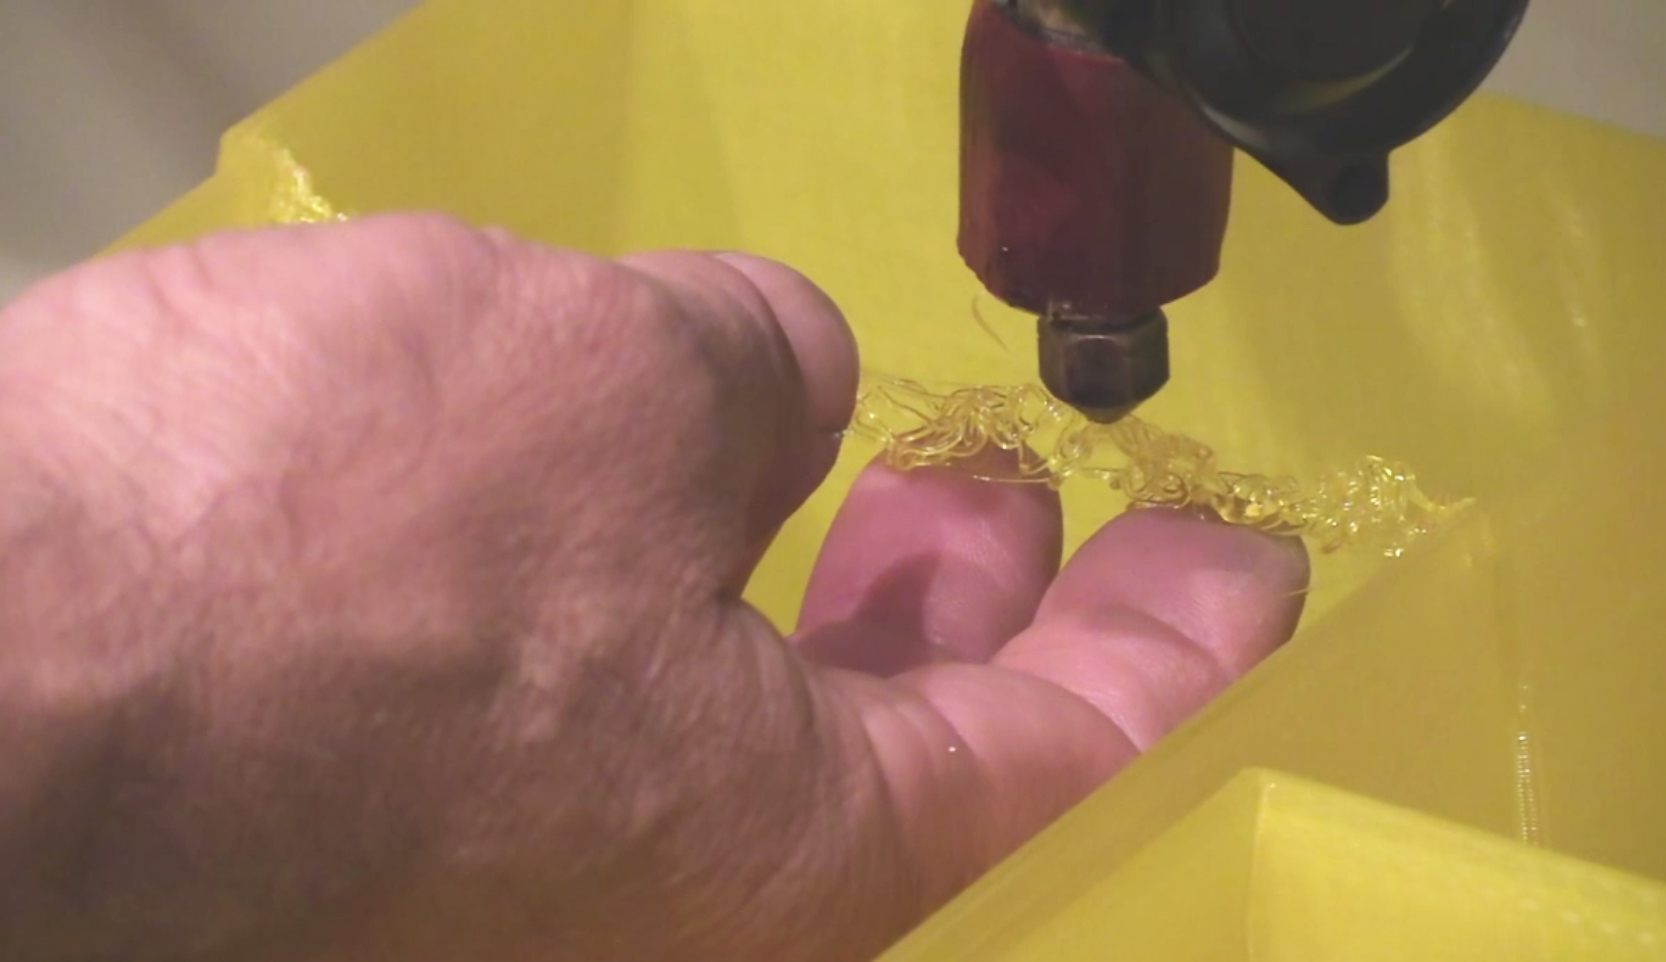
When it was time for the first pass, I simply put my hand under that area and held the crossing filament in place until it cooled. Then I came back with the 3Doodler and strengthened and widened the bridge.
I had to do this three times – by the third one, though, I figured out that I could just do my initial work with the 3Doodler, let the printer ride across it, then come back with the 3Doodler and fill in or strengthen anything that needed it.
Admittedly, the result wasn’t pretty, but it worked. Besides, no one can see inside the piece to see the bridge, but they sure can see that the towers split beautifully. I’ll take it!
 After an initial sleepless night getting the first bridge to work, the others were a little less stressful.
Most important, the sculpture printed beautifully without any apparent flaws from this adventure. (It’s shown at right in a photo taken right after it finished printing. The fifth tower is hidden behind the two center ones.)
I love how the filament varies in this sculpture. I know some of the changes happened because I speeded up or slowed down the print speed – something I definitely had to do at the towers’ points, especially the last one, so the filament didn’t overhead – but honestly, I like the variations.
That’s part of what keeps 3D sculptures, at least for now, from looking like something printed in a factory. I know that this sort of variation will be a thing of the past as 3D printing matures, but who knows if I’ll still be interested when it gets easy (or should that be “easier” ….)
Meanwhile, in the future, I’ll look more carefully to make sure there is support for everything before hitting that “print” button!