After 7 years of doing 3D printing I continue to refine my process. I’m learning more about controlling my tools – 3D printers, in this case – and am glad that the hardware and software have continued to evolve to help me do so.
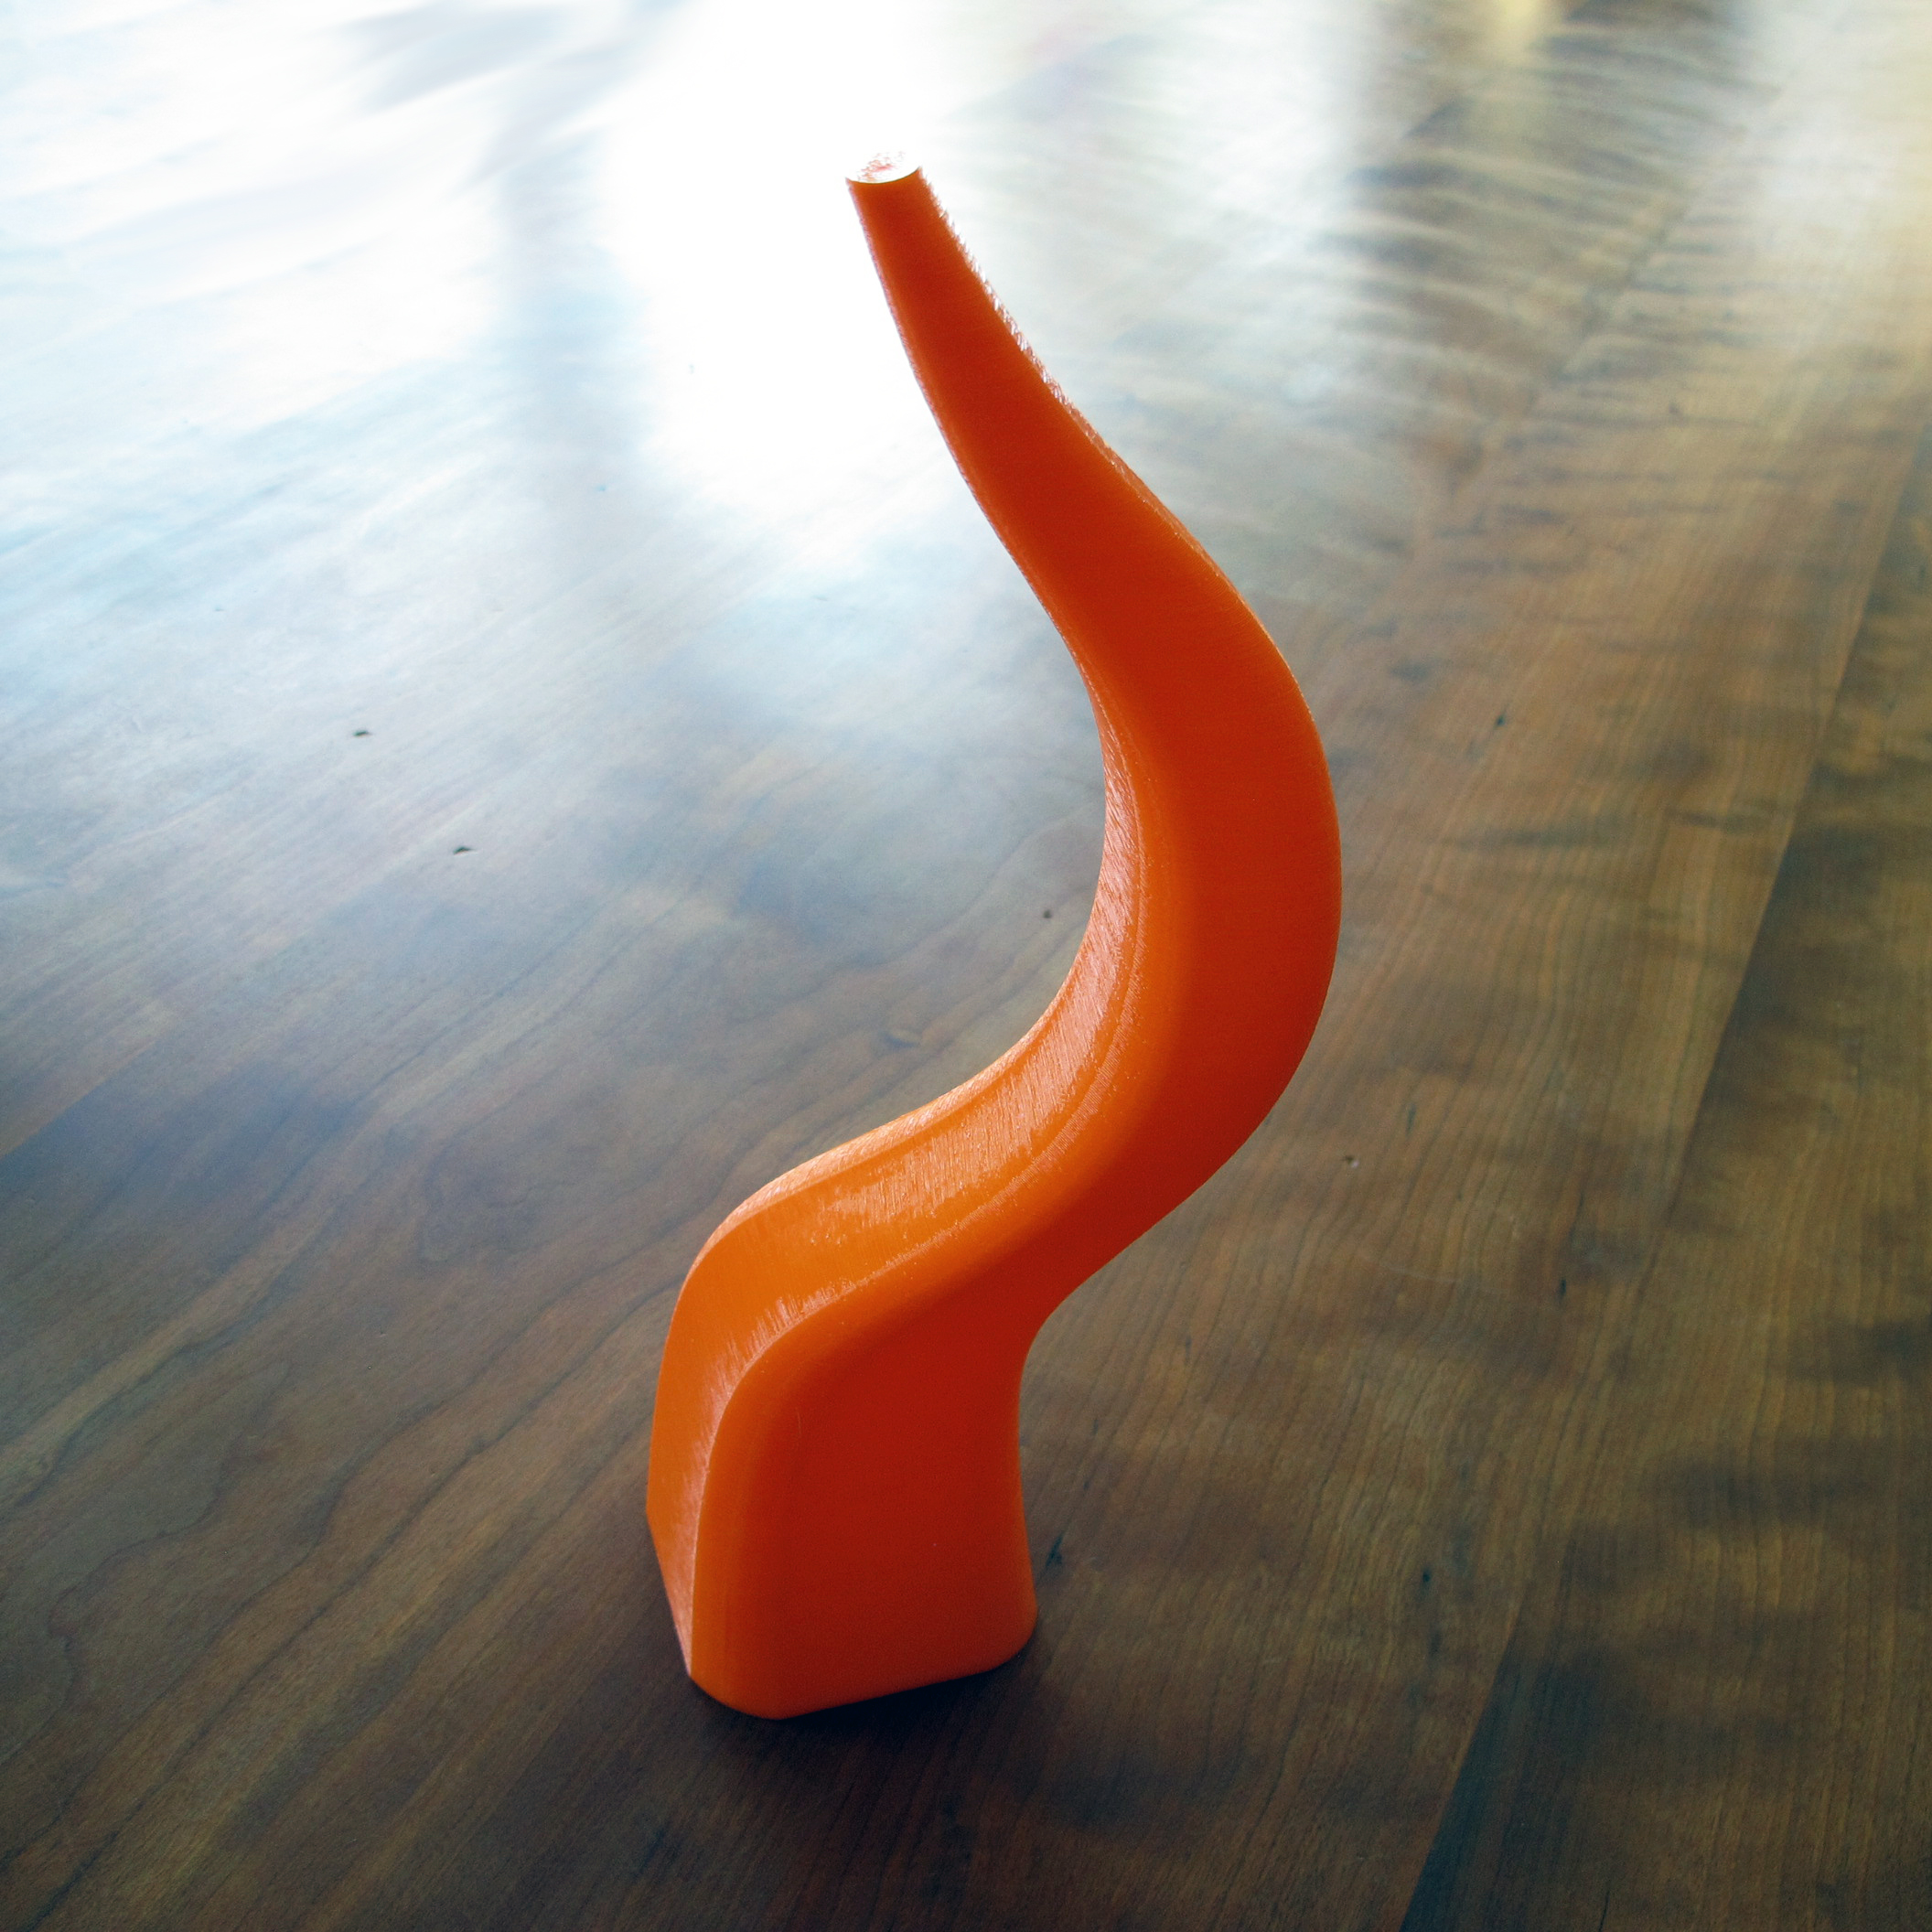
That was really evident with my latest 3D-printed sculpture, which I’ve dubbed Drip.

A big part of the problem, frankly, is that my swoopy, flowing designs like Drip are tricky for the molten nature of 3D printing. Yet I enjoy the challenge of making them work. I’m always striving to avoid supports, which are almost impossible to remove without leaving marks. This design in particular needed to be clean, so support “stubs” would not work.
With my first attempt, I had already figured out to use a cardboard shield to keep the 3D print warm. Even though my 8-foot-tall Cerberus 3D Gigante has a heated bed, the 3D print was cooling too quickly, so the cardboard helped.
Still, some of the curves were not cooling quickly enough, causing heat distortion and rippling (right).
I knew I wanted to cool it down, but I also wondered if the form, with its curves, would really work. First, I made the form a little bigger, which made the curves less extreme.
It also helped that I turned on the fan that blows on the 3D print. With advancements in software, I can now control when that happens instead of having to either have the fan on or off. I can actually specify which line I want the fan to come on at.
After another small adjustment to the pinnacle of the form, I was ready to go back to the Gigante!
This time I turned down the print speed to 30% of maximum instead of 50%, turned the fan on, and left the cardboard shield in place. Twenty-four hours later I had a finished 3D print worth calling a sculpture. See Drip on its own page.
The final step was printing a base in black PLA. The first 2 attempts didn’t go well, but the third one, which I printed on the 400, did. I got a weird texture on the outside of the base, but I like its strange look. Sometimes such artifacts make a sculpture more interesting, and this seemed to qualify even if it was the base instead of the sculpture itself.
Now I just need to adhere the sculpture to the base and sign it. Yes, it is worth the effort to get it right.
See the final sculpture Drip on its own page.