
Some of them aren’t really available to me for the Gigante, which uses 3 millimeter filament but for which I like at least 5 pound spools. (My company policy is to order at least three 5 pound spools at a time for the Gigante just to make sure I have enough in the same color lot to do a 4-foot-tall sculpture. Yeah, I have a lot of filament in my supply closet!)
Others, like wood, don’t turn me on.
But bronze? Yeah, I’m a sculptor, so bronze definitely interests me.
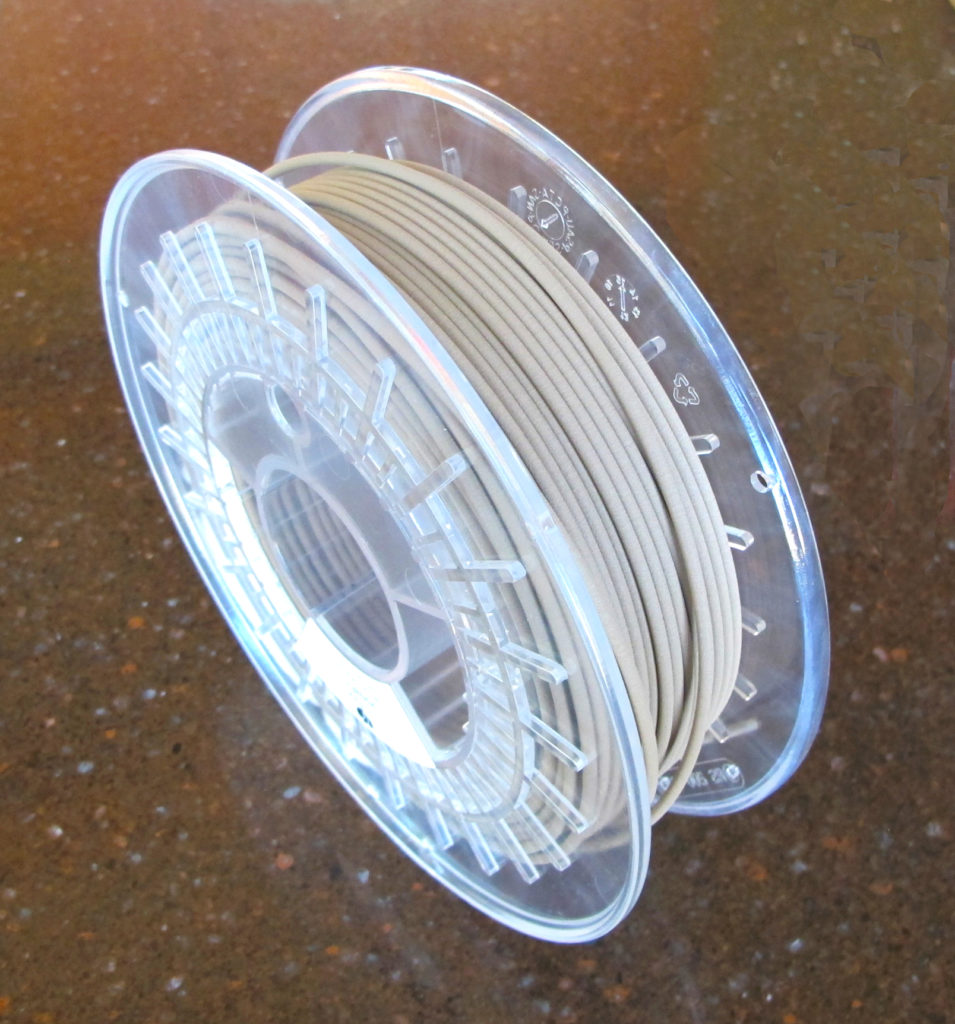
So I bought some bronze filament from ColorFabb ….
My Cerberus 250 runs 1.75 millimeter, but I wanted to use the bronze in my Gigante, so I bought some spools, even though I had to settle for 1,500 kilogram ones.
The bronze filament is more expensive than all of the other filament I’ve bought, and it’s heavier, too. That’s because it’s 80% bronze and just 20% PLA.
First I printed a small version of the form I call The Point that’s just 11″ tall. I was happy enough with it that I printed a 26″ tall version.
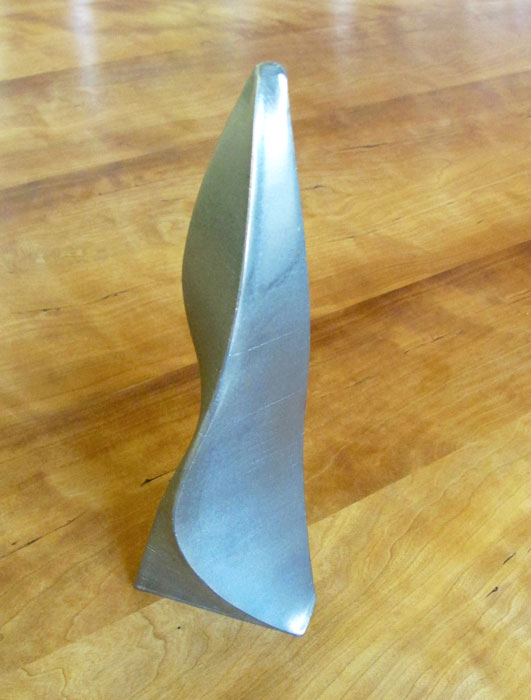
When they print, they look almost like wet clay. That is not the look I am going for – I want these sculptures to, obviously, look like bronzes. Yeah, I know they are bronzes, but I want them to look like bronzes, too!
I started out with steel wool and realized quickly I needed to start with something rougher. I grabbed some Abranet, a sanding material my brother, a wood turner, introduced me to. I used finer and finer grits and even tried wet sanding, which I’d read about online with 3D printed bronze, but it didn’t seem to help.
I kept working my way finer and finer in grit until I was back to using steel wool, then worked my way finer and finer in its versions to a very fine steel wool.
After trying various ways to hold the sanding material – wrapped around a pencil, a railroad spike, etc. – I figured out to put it on a simple metal rod with a piece of tape to hold it on. I put that into my drill, which I then used to burnish the sculptures.
I ordered some brass wool from Rockler and tried it on a test piece, but it didn’t do anything. Back to the steel wool.
I spent about 10 hours on the small Point, and 16 hours on the large one.
The biggest success, though, was when I put the small Point into my 100-year-old burnisher. Wow! It gave it an incredibly cool gleam.
I’ll share more about the burnisher in an upcoming post, but suffice it for now to say that I can’t fit the large Point into it. While the finish on it is OK, I see more hours of hand polishing in my future to get the look I want.
Next, I think I’ll order some copper filament ….